 📌 Pin
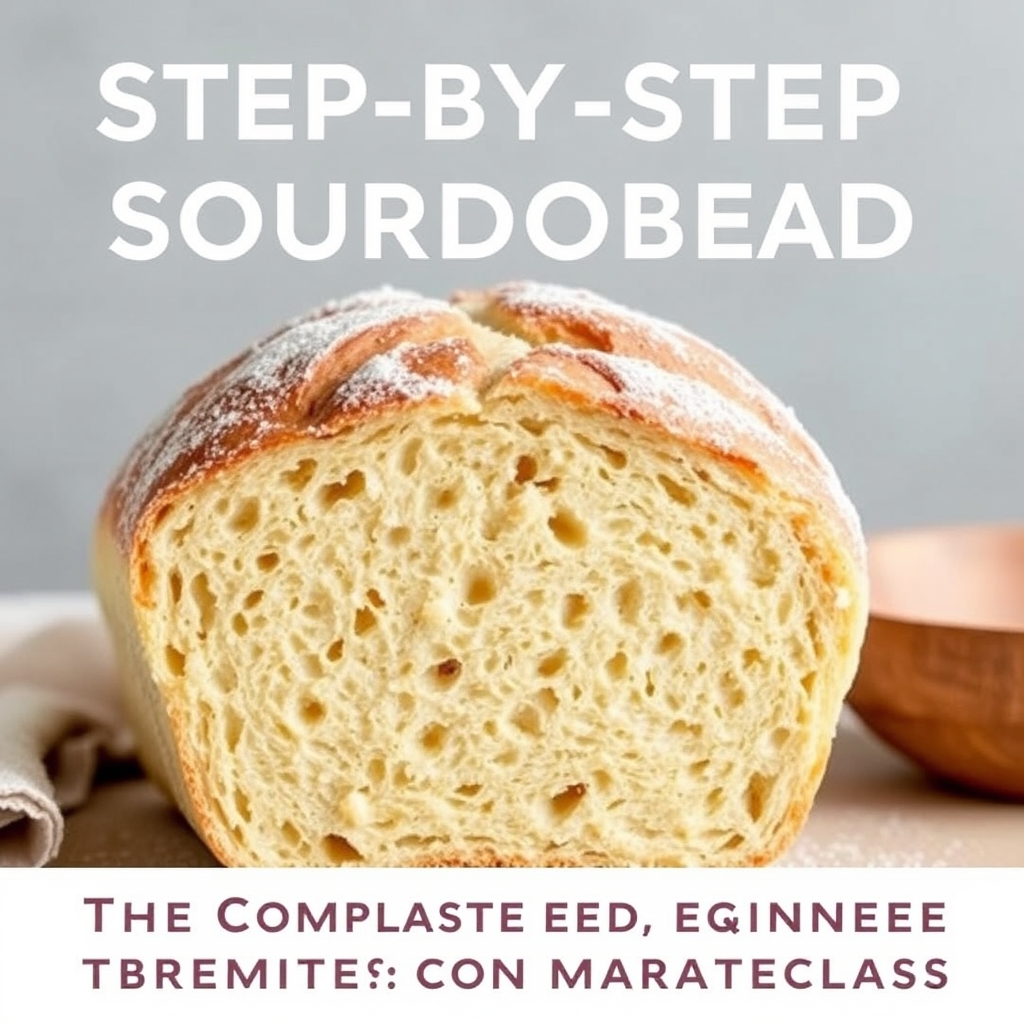
📌 PinBaking your first loaf of artisan bread does not have to be an intimidating ordeal filled with confusing formulas. Making step-by-step sourdough bread allows you to turn three basic ingredients—flour, water, and salt—into an airy, crackling loaf packed with rich flavor and natural wild yeast. Once you grasp the simple rhythm of fermentation, the entire process becomes a relaxing and deeply satisfying kitchen ritual.
Many beginners feel overwhelmed by confusing bakers’ percentages and conflicting advice online. This comprehensive guide strips away unnecessary complexity to give you an approachable, reliable workflow. Whether you want to slice a freshly toasted piece for breakfast or serve warm slices beside dinner, learning how to make step-by-step sourdough bread will permanently elevate your home baking skills.
If you have already explored our classic guide on Dutch Oven Sourdough Bread: The Foolproof Beginner’s Guide, you will find this detailed tutorial expands even further on dough handling nuances, fermentation indicators, and baking techniques. Let us walk through the process together from starter feeding to that dramatic first oven spring.
 📌 Pin
📌 PinUnderstanding the Foundations of Sourdough Baking
Unlike commercial breads leavened with packaged instant yeast, authentic sourdough depends on wild yeast and beneficial lactic acid bacteria working in symbiosis. This micro-ecosystem ferments the carbohydrates naturally present in grain flour, yielding carbon dioxide for rise and gentle organic acids for signature tang and improved keeping qualities.
Because wild yeast works at a calmer pace than commercial strains, time serves as an active ingredient. Patience allows the gluten matrix to relax, while natural enzymes break down complex starches into easily digestible compounds. Embracing this deliberate timeline is the core mindset needed for successful artisan sourdough bread.
Essential Ingredients for Step-by-Step Sourdough Bread
 📌 Pin
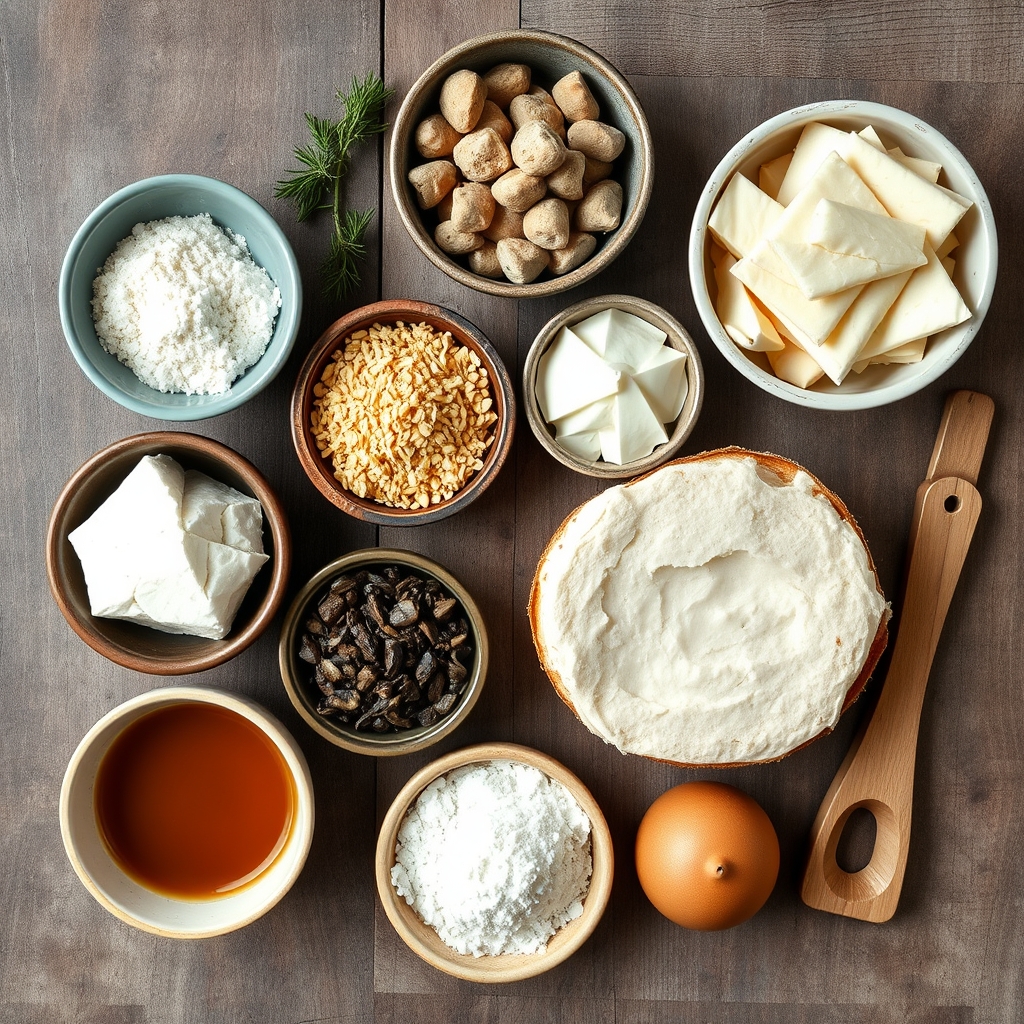
📌 PinBecause sourdough relies on so few components, the quality and characteristics of each element directly influence your finished loaf:
- Strong Bread Flour: Look for an unbleached bread flour with an 11.5% to 12.7% protein range. The higher protein content develops the extensible gluten network required to capture expanding fermentation gases.
- Active Sourdough Starter: Your culture should be bubbly, aromatic, and doubled or tripled in volume after its most recent feed.
- Water: Filtered room-temperature water around 78°F to 80°F (25°C to 27°C) keeps the yeast active without shocking the dough.
- Fine Sea Salt: Salt tightens the gluten mesh, curbs runaway fermentation, and brings out the natural sweetness of roasted grain.
Stages 1 to 3: Levain, Autolyse, and Mixing
Every successful bake begins hours before the main dough comes together. By coordinating your levain build with your schedule, you ensure your yeast reaches peak leavening strength right when you need it.
Preparing the Levain
Take a small portion of mature starter and combine it with equal weights of fresh water and flour. Leave it in a warm corner for 4 to 6 hours until it doubles in volume and exhibits a spongy, dome-shaped top with web-like bubbles. This guarantees vibrant yeast activity before introducing bulk flour.
The Autolyse Phase
In a large mixing bowl, combine your water and bread flour until no dry patches remain. Cover the shaggy mass and let it rest undisturbed for 30 to 45 minutes. This simple rest period hydrates the flour starches completely, kickstarts enzymatic activity, and jump-starts gluten development before any salt or starter enters the bowl.
Mixing and Salting
Spread your active levain over the autolysed dough and pinch it through with wet fingertips until thoroughly incorporated. Rest for 20 minutes, then sprinkle the fine sea salt alongside a splash of reserved water over the top. Fold and dimple the dough repeatedly until the grain feels silky and the salt crystals dissolve completely.
Stages 4 to 5: Bulk Fermentation and Dough Development
Bulk fermentation is where your dough builds strength and develops flavor. Rather than heavy mechanical kneading, gentle stretching cycles preserve delicate air pockets.
During the first two hours of bulk fermentation sourdough development, execute four sets of stretch-and-folds spaced 30 minutes apart. With moistened hands, reach underneath one quadrant of dough, pull it gently upward to stretch the fibers without tearing, and fold it over the center. Rotate the bowl 90 degrees and repeat on all four sides.
After finishing your stretch-and-folds, allow the dough to rest undisturbed for the remainder of bulk fermentation. Look for tangible cues rather than tracking strict clock time: the dough should increase by roughly 30% to 50% in volume, feel aerated and domed around the bowl edges, and show small bubbles scattered just below the surface.
Stage 6: Pre-Shaping and Final Loaf Shaping
Proper shaping produces the surface tension that keeps your loaf standing proud instead of flattening outward in the oven.
The Pre-Shape
Turn the fermented dough onto an unfloured work surface. Using a metal bench knife and your free hand, gently cup and rotate the dough clockwise to form a loose, smooth round ball. Let this round rest on your counter for 15 to 20 minutes uncovered to allow the gluten to relax.
Final Shaping
Lightly dust the top of the dough ball with rice flour, flip it over onto a clean counter, and gently stretch it into an oblong shape. Fold the lower third upward, fold the sides inward like an envelope, and roll the dough downward from the top into a taut cylinder. Pinch the seams closed, and gently tuck the ends under to seal.
Dust an oval or round proofing basket (banneton) generously with rice flour, which prevents wet dough from sticking. Using your bench knife, lift the shaped loaf smooth-side down into the banneton.
Stage 7: Cold Retard and Baking Your Loaf
 📌 Pin
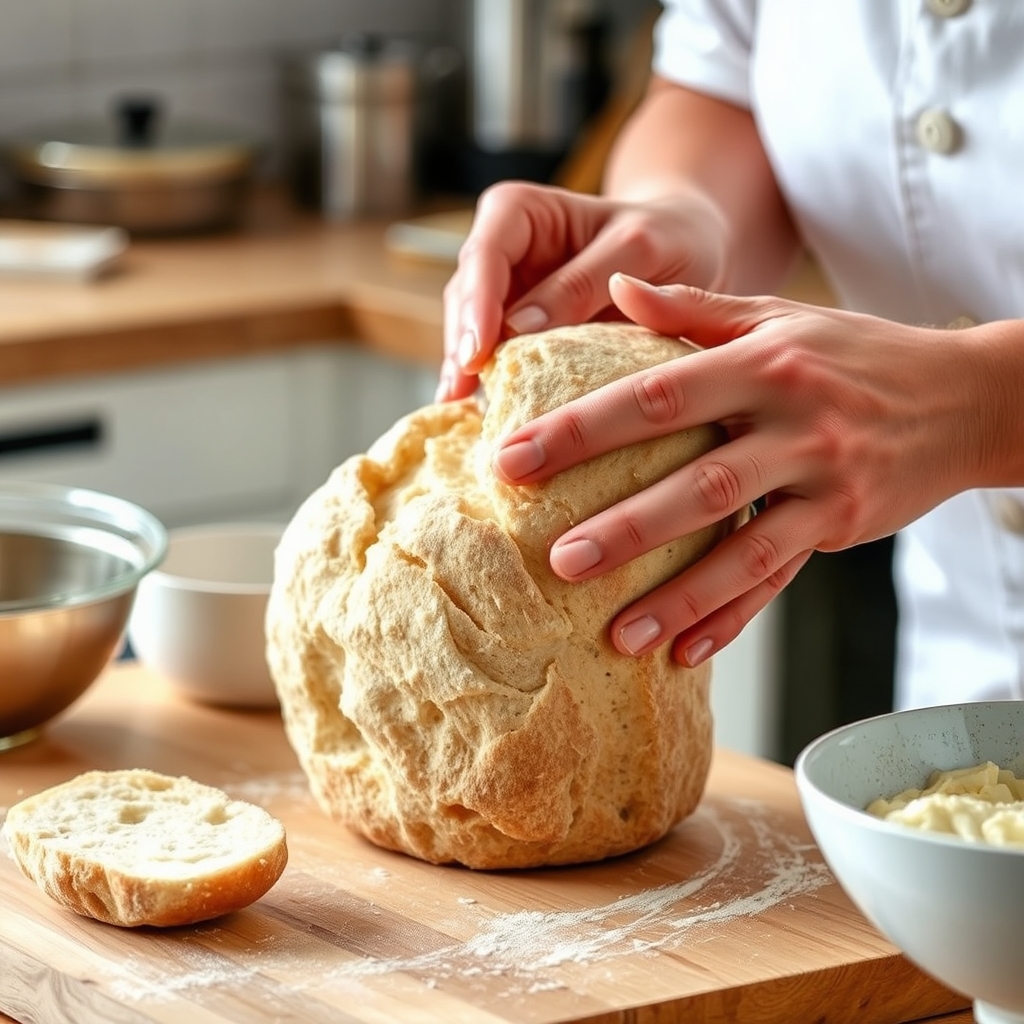
📌 PinSlip the banneton into a clean plastic bag and transfer it straight into your refrigerator for a cold retard lasting anywhere from 12 to 16 hours. Chilling firms the dough, making it effortless to score clean designs, while bacteria continue producing delicate lactic and acetic acids for superior depth of flavor.
When ready to bake, preheat your heavy Dutch oven inside your home oven to 450°F (232°C) for at least 45 minutes. Cut a sheet of parchment paper, invert your chilled dough onto it, and brush away excess surface flour.
Hold a sharp razor blade or baker’s lame at a 30-degree angle to the loaf surface. Make a swift, deliberate slash down the length of the dough about a quarter-inch deep. This intentional cut directs steam expansion and creates a distinct, crunchy artisan ear.
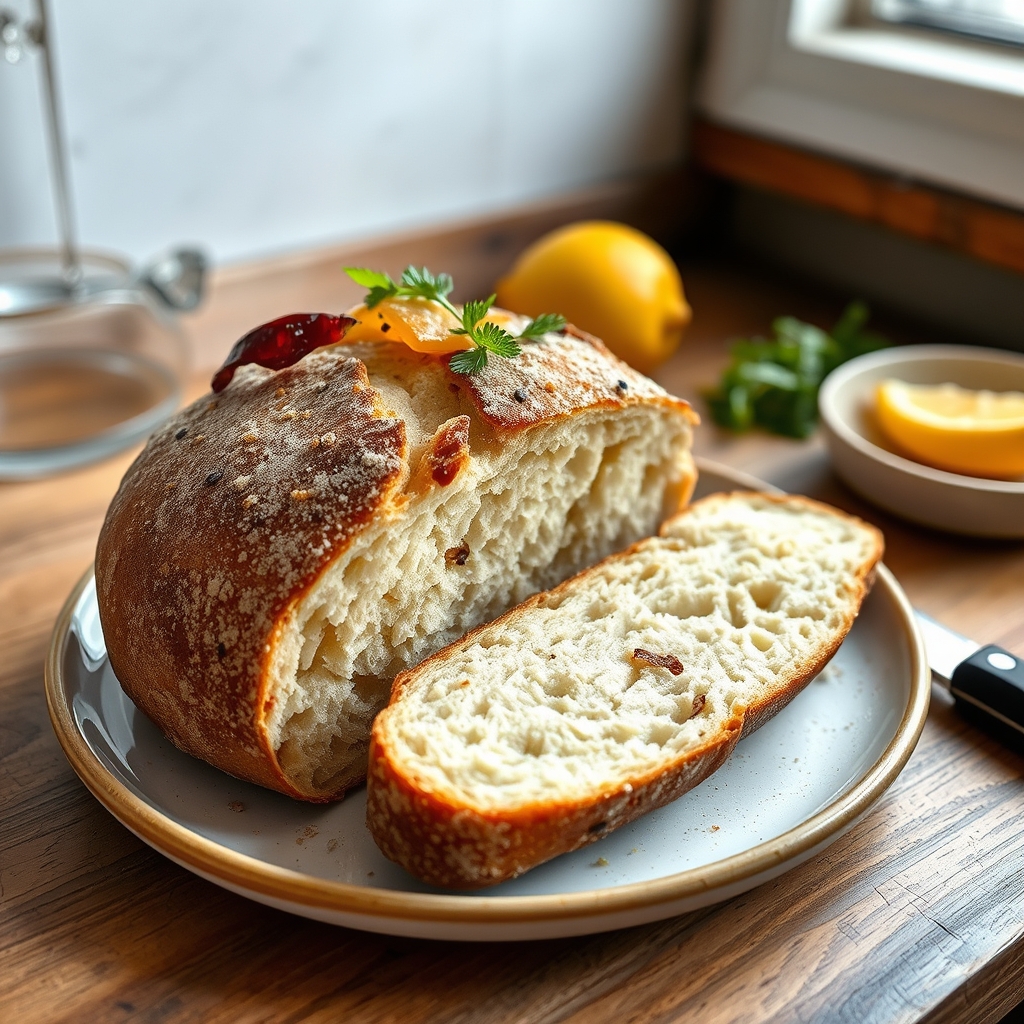
Carefully transfer the parchment and dough into the hot Dutch oven and secure the heavy lid. Bake covered for 20 minutes to trap rising steam, which keeps the crust supple enough for maximum oven spring. Then remove the lid and bake uncovered for an additional 20 to 25 minutes until the exterior turns deep mahogany brown. Once cooled, smear thick slices with rich spreads from our favorite Homemade butter recipes 5 Insanely Easy Delicious Quick Secrets for an incredible breakfast.
Troubleshooting Step-by-Step Sourdough Bread Questions
Every baker encounters unexpected textures or pale crusts while mastering step-by-step sourdough bread. Here are practical fixes for common stumbling blocks:
Why is my sourdough crumb gummy or sticky?
Gummy interiors usually stem from slicing into a loaf while it is still warm, which collapses the gelatinized starches before they set. Always allow your bread to cool completely on a wire rack for at least two hours before cutting. Underbaking or under-fermentation can also cause dense, sticky crumb sections.
How do I achieve a deeper, more blistered crust?
Abundant steam and cold fermentation are the dual secrets to a thin, crackling, blistered crust. Retarding your shaped dough in the refrigerator overnight encourages moisture condensation, while a fully preheated covered vessel traps natural water vapor during the first phase of baking.
What should I do if my dough feels too wet or slack?
If your dough spreads out flat across the counter, your flour may have a lower absorption rate, or the dough was slightly over-fermented. On your next attempt, reduce the recipe water by 20 to 30 grams, and focus on tight, deliberate shaping motions to build stronger external surface tension.
Frequently Asked Questions
How long does it take to make sourdough bread from start to finish?
A typical sourdough timeline spans approximately 24 to 36 hours. However, active hands-on preparation takes only about 30 to 45 minutes spread across measuring, stretching, shaping, and scoring. The vast majority of the duration involves hands-off fermentation and cold overnight chilling.
Why is my sourdough bread dense and heavy?
Dense crumb structures are generally caused by a weak starter, premature ending of the bulk fermentation stage, or underproofing before baking. Ensure your starter easily doubles within 4 to 6 hours after feeding, and look for visible air bubbles and domed edges in the bowl before shaping.
What is the secret to good oven spring in sourdough bread?
Optimal oven spring relies on three key factors: a strong gluten structure created during stretch-and-folds, proper surface tension formed during shaping, and plenty of trapped steam inside a screaming-hot baking vessel during the first 20 minutes of baking.
Related articles
- Dutch Oven Sourdough Bread: The Foolproof Beginner’s Guide
- blueberry cream cheese loaf 7 Insane Secret Easy Magic Delicious Recipe
- Join Our CMS Pancake Breakfast – Delicious Pancakes & Community Fun