 📌 Pin
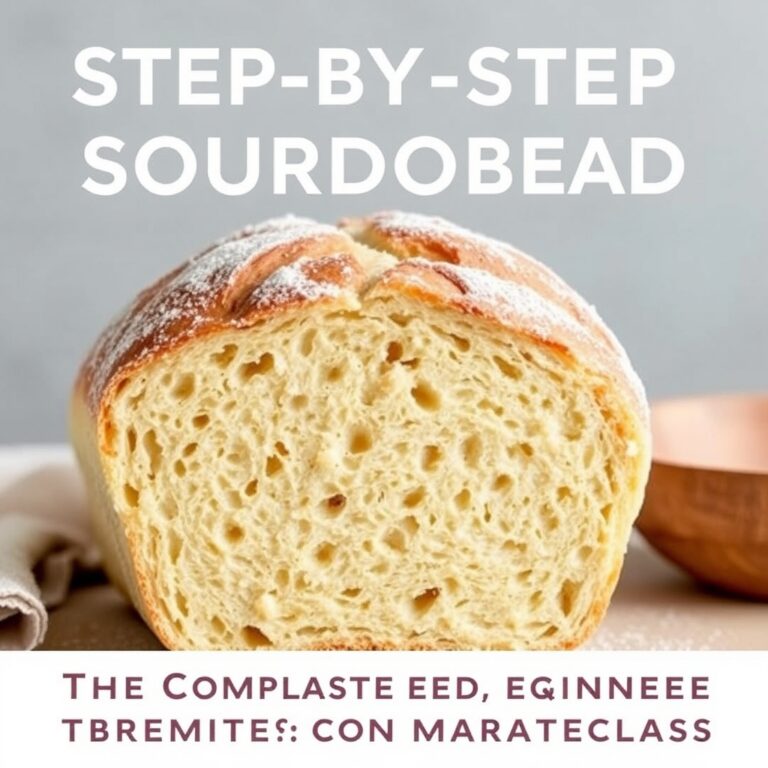
📌 PinBaking homemade dutch oven sourdough bread is one of the most rewarding culinary skills you can master. With just flour, water, salt, and wild yeast, you can create a bakery-quality loaf featuring a blistered, crackly crust and an airy, tender crumb right in your home kitchen.
A heavy lidded pot simulates the steam-injected commercial deck ovens used by professional bakers. By trapping moisture released from the dough during the initial minutes of baking, the pot delays crust formation and allows the loaf to expand to its maximum volume.
In this guide, you will discover the foundational techniques needed to succeed. From understanding dough hydration and bulk fermentation cues to mastering the bake cycle, this comprehensive walkthrough will give you total confidence at the oven.
 📌 Pin
📌 PinWhy Dutch Oven Sourdough Bread Works Best
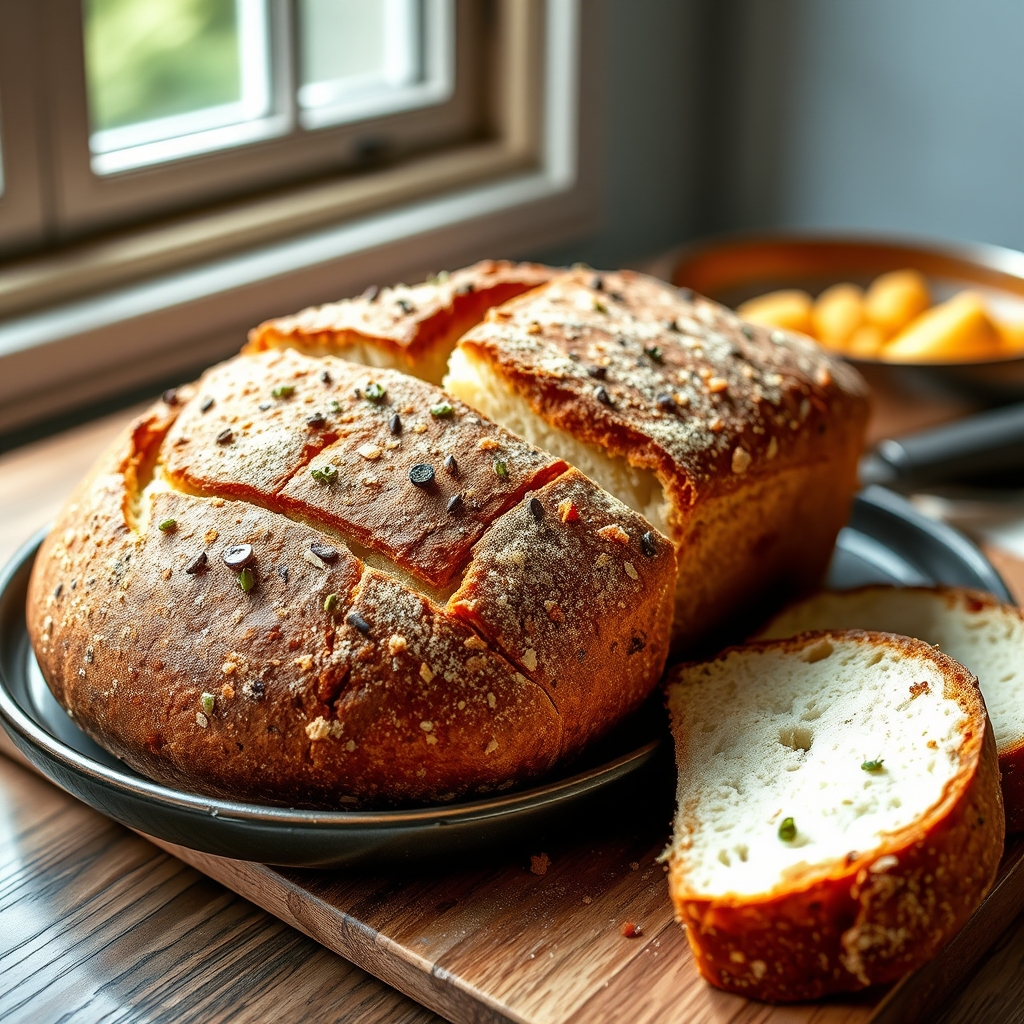
Home ovens are engineered to vent moisture to prevent excess humidity. While beneficial for roasting meats or crisping vegetables, this dry environment is hostile to lean bread dough. Without steam, the exterior starch hardens prematurely, trapping gas pockets inside and resulting in a dense, squat loaf.
When you bake dutch oven sourdough bread, the heavy enameled or seasoned cast iron walls absorb intense thermal energy. Once you seal the raw loaf inside with the heavy lid, evaporating water from the dough becomes trapped steam. This steam gelatinizes surface starches, encourages maximum expansion, and sets the stage for a dramatic sourdough oven spring.
After removing the lid midway through baking, the trapped moisture escapes. The dry ambient heat triggers the Maillard reaction and caramelizes the surface sugars, transforming a pale dough ball into a deep golden-brown masterpiece with distinctive blisters.
Essential Tools and Core Ingredients
 📌 Pin
📌 PinYou do not need a kitchen full of expensive gadgets to craft outstanding bread, but a few specific tools make a notable difference in consistency and ease.
- Cast Iron Dutch Oven: A 5-quart to 6-quart round or oval Dutch oven provides ample space for loaf expansion while retaining high heat.
- Kitchen Scale: Measuring by weight in grams ensures accuracy, as flour compacts unpredictably in volume cups.
- Parchment Paper: Acts as a sling to lower fragile proofed dough into a screaming-hot pot safely.
- Bread Lame or Razor: A sharp blade allows decisive slashes for controlled expansion along desired fault lines.
- Banneton Proofing Basket: A cane basket supports the loaf shape while wicking surface moisture during the final rest.
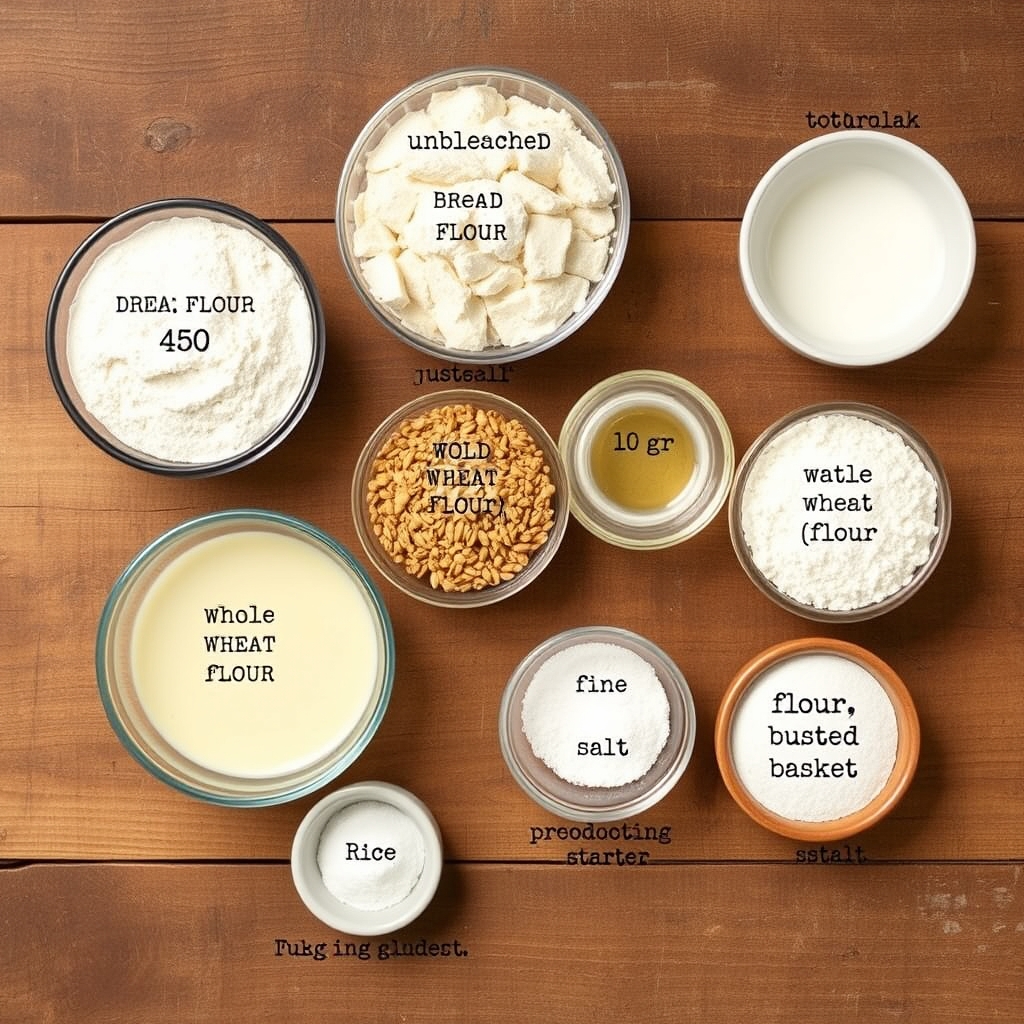
Ingredient quality is equally important. Opt for unbleached bread flour with high protein content (around 12.7% to 13%) to support a strong gluten matrix. Pair this with clean, unchlorinated water and fine sea salt. Your wild yeast culture thrives alongside beneficial lactic acid bacteria, which produce the signature sour tang and tender crumb texture.
Mastering the Dutch Oven Sourdough Bread Schedule
Patience and visual cues dictate success far more than arbitrary kitchen timers. Following a reliable workflow ensures your fermentation stays on track.
1. Autolyse and Mixing
Combine your flour and water until no dry patches remain. Rest the mixture for 45 minutes to initiate enzymatic activity and soften the bran. Next, dimple in your active, bubbly starter followed by the salt. Squeeze and fold the mixture until completely unified.
2. Stretch and Folds
Rather than intense kneading, gentle stretching builds strength while preserving delicate gas pockets. Over a two-hour window, perform four sets of stretch and folds spaced 30 minutes apart. Reach under one quadrant of the dough, pull it upward, and fold it across the top. Rotate the bowl and repeat for all four corners.
3. Bulk Fermentation and Shaping
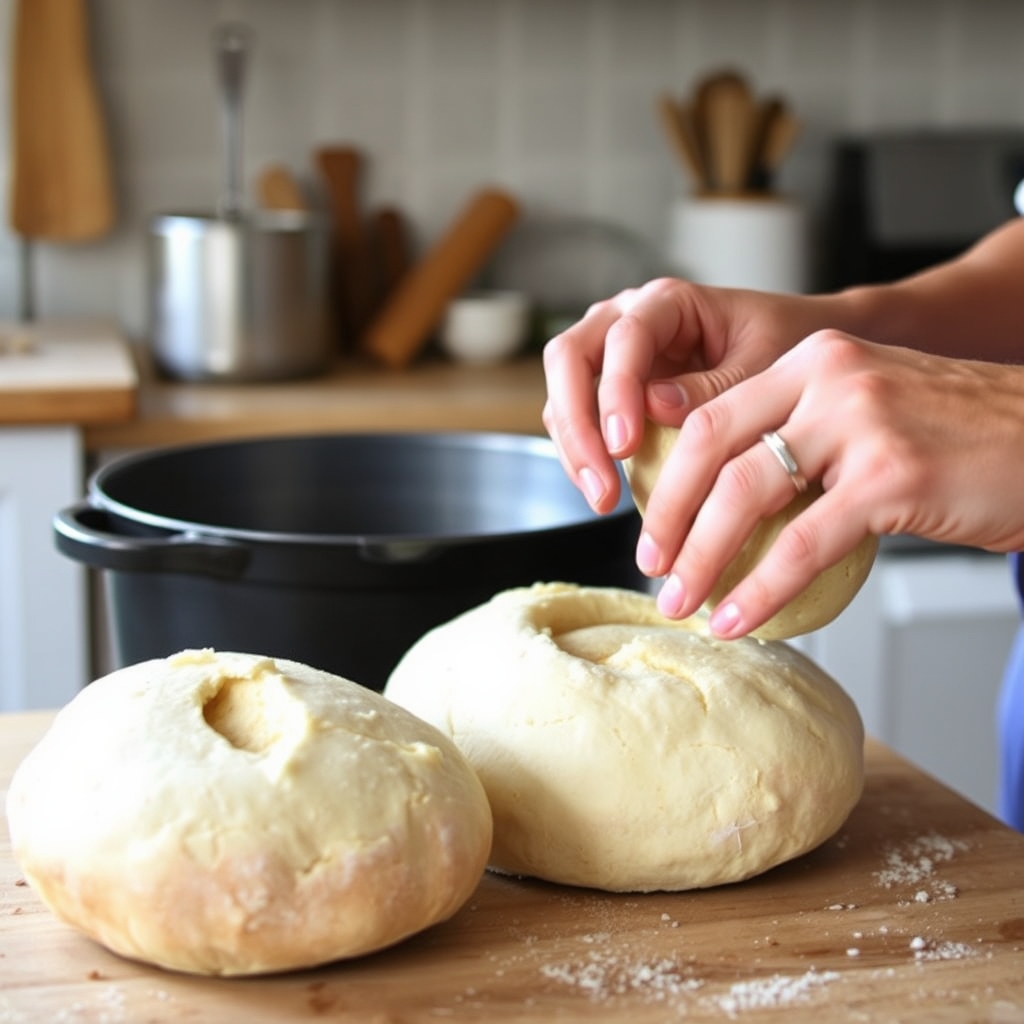
Allow the dough to ferment at a comfortable room temperature (72°F to 76°F or 22°C to 24°C). Look for a volume increase of roughly 30% to 50%, aerated domed edges, and scattered surface bubbles. Turn the dough onto an unfloured work surface, shape it into a taut round ball, and bench rest for 20 minutes before performing the final shaping into an oval batard or round boule. Place the loaf seam-side up into a rice-floured banneton.
4. Cold Fermentation Sourdough Advantage
Transfer the shaped basket into the refrigerator for 12 to 16 hours. This cold fermentation sourdough technique slows yeast activity while allowing bacterial fermentation to continue, deepening the flavor profile. Crucially, chilled dough holds its shape significantly better when turned out and scored.
Scoring and Baking Your Loaf
Preheat your oven and the Dutch oven together at 450°F (232°C) for at least 45 to 60 minutes. The vessel must be thoroughly saturated with heat before receiving the dough.
Turn your chilled dough out onto a sheet of parchment paper. Dust away excess flour, then use your blade to make a swift, confident slash down the length of the dough at a 45-degree angle. This angled cut promotes a classic peeled-back ear during baking. Carefully lift the parchment sling and lower the loaf into the hot pot. Replace the lid immediately and slide the pot into the oven.
Bake covered for 20 minutes to trap the natural steam. Then, carefully remove the lid to behold the expanded loaf. Continue baking uncovered for 20 to 25 minutes at 425°F (218°C) until the crust reaches a rich mahogany hue. Always let your dutch oven sourdough bread cool completely on a wire rack for at least two hours before slicing; cutting into hot bread turns the interior gummy.
Troubleshooting Common Dutch Oven Sourdough Bread Issues
 📌 Pin
📌 PinEven seasoned bakers encounter occasional hurdles. Use this quick reference guide to dial in your technique:
| Symptom | Probable Cause | Simple Correction |
|---|---|---|
| Pale or soft crust | Insufficient bake time without lid or low oven temp | Bake uncovered an additional 5-7 minutes; check oven calibration |
| Burnt or scorched bottom | Base of Dutch oven too close to heating element | Place a baking sheet on the rack directly beneath the pot |
| Dense, gummy interior | Loaf sliced too early or underfermented dough | Allow loaf to cool completely; extend bulk fermentation time |
| Flat loaf with minimal ear | Overproofed dough or dull blade dragging during scoring | Shorten proofing window; slash decisively with a fresh razor |
Frequently Asked Questions About Dutch Oven Sourdough Bread
Why bake sourdough bread in a dutch oven?
A Dutch oven retains radiant heat and locks in moisture released by the dough. This natural steam keeps the dough surface supple, allowing dramatic oven spring before forming a thin, crisp, blistered crust.
Do you preheat the dutch oven for sourdough bread?
Yes, preheating the Dutch oven for 45 to 60 minutes ensures immediate heat transfer to the cold dough. This rapid burst of bottom heat creates robust steam and prevents the dough from spreading flat.
How long do you bake sourdough in a dutch oven?
A standard loaf bakes for approximately 40 to 45 minutes total: 20 minutes covered with the lid on to harness steam, followed by 20 to 25 minutes uncovered to develop color and crispness.

1 Comment