 📌 Pin
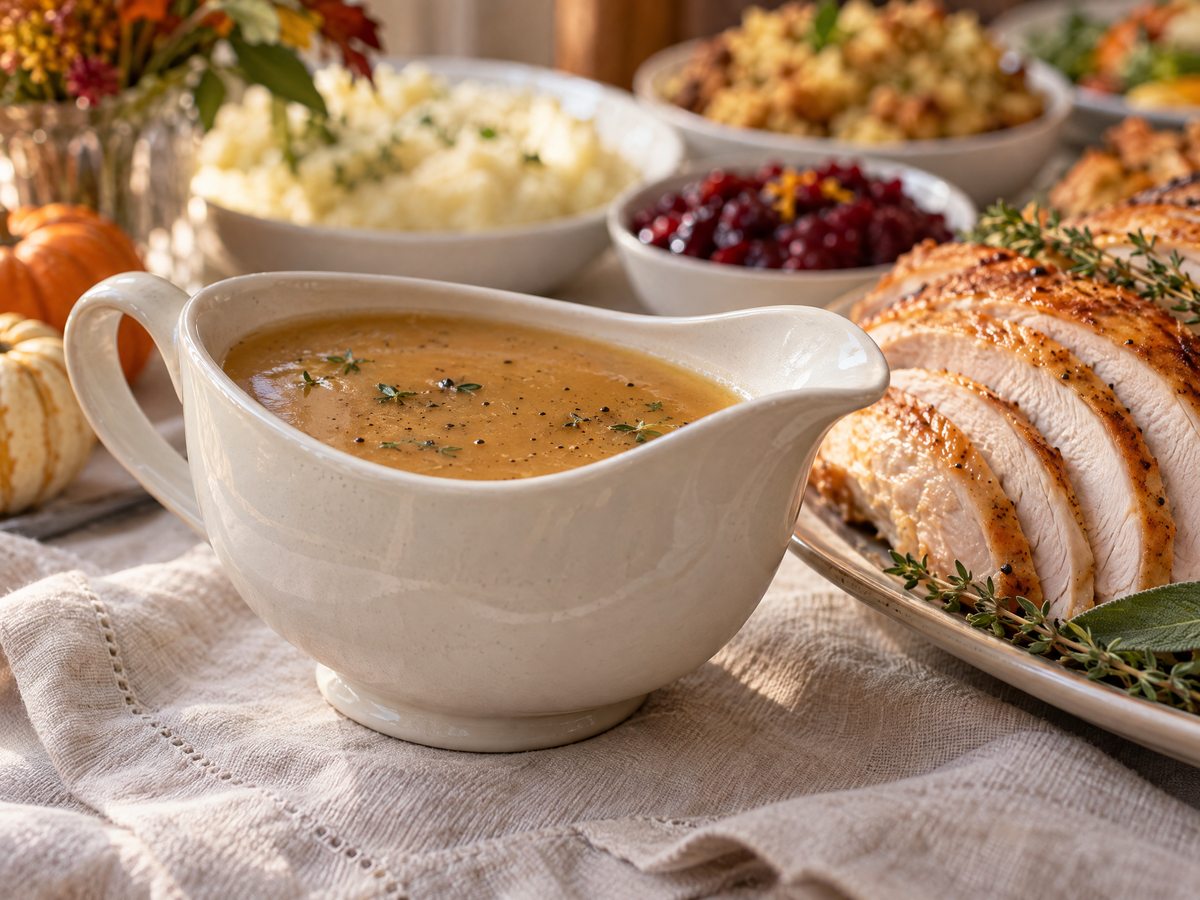
Turkey gravy is often the last thing to make while everyone else is already gathering around the table. This recipe keeps the process manageable: build a simple, smooth gravy base before the holiday, then finish it with savory pan drippings after the turkey comes out of the oven. If you are cooking everything at once, the same method works start to finish in about 20 minutes.
The flavor comes from browned bits in the roasting pan, not a long list of special ingredients. A little butter and flour form the roux that gives the gravy body, while broth makes up any missing liquid. You can control the thickness and salt level at the stove, then bring the gravy to the table hot and silky. This is an adaptable, classic-style gravy rather than a cream-heavy or strongly herb-forward sauce.
Why this gravy works for a holiday meal
The method separates planning from the final flavor boost. Make a neutral, lightly seasoned broth gravy ahead, refrigerate it promptly, and add the turkey drippings when you reheat it. That means Thanksgiving Day needs only a short finishing step while the turkey rests. If you prefer to make it all at once, use the drippings and broth together as the liquid.
A roux made from equal measures of butter and flour thickens without relying on cornstarch or a packet mix. Cooking the flour briefly in the butter removes its raw taste. Gradually whisking in warm broth helps prevent floury lumps, and a gentle simmer gives the gravy time to thicken evenly. Finally, seasoning after the drippings go in matters because roasting juices and packaged broth can already be salty.
Ingredients and useful notes
For about 3 cups, use 4 tablespoons unsalted butter, 4 tablespoons all-purpose flour, 2 cups low-sodium chicken or turkey broth, and 1 cup defatted turkey drippings. If you have less than a cup of drippings, add broth until the combined liquid measures 3 cups. You can also use 3 cups broth for a make-ahead base, adding drippings at the end on serving day. Warm the liquid before adding it to the roux so the gravy comes together smoothly.
Choose low-sodium broth because drippings concentrate the turkey’s seasoning. Keep salt out until the end. Add ¼ teaspoon freshly ground black pepper and up to ½ teaspoon kosher salt, tasting as you go. One teaspoon finely chopped fresh thyme or sage is optional; use just one or a small pinch of each so the herbs support rather than overwhelm the roast flavor. A teaspoon of Worcestershire sauce is another optional way to add savory depth, but it is not necessary.
A medium, heavy-bottomed saucepan and a whisk are useful. A fat separator makes it easier to separate the drippings from the fat, though a heat-safe measuring cup and spoon work too. A fine-mesh strainer is optional if you want a very smooth finish.
How to make easy turkey gravy from drippings
- Collect and measure the drippings. Once the turkey is out of the oven, let the roasting pan sit briefly so the juices settle. Pour the liquid into a fat separator or heat-safe cup. Spoon off most of the fat that rises to the top, but keep the darker juices beneath it. If you want to use the browned pan bits, set the roasting pan over a burner on low heat, add a splash of broth, and scrape them up with a wooden spoon. Strain this liquid into the drippings. Take care with hot pans and splattering fat.
- Make the roux. Melt the butter in a saucepan over medium heat. Sprinkle in the flour and whisk continuously for 2 to 3 minutes. The mixture should bubble gently and become smooth, with a faint toasted aroma and a pale golden tint. If it browns quickly or smells acrid, lower the heat; burned roux can make the finished gravy bitter.
- Whisk in the liquid slowly. Warm the broth and measured drippings together. Pour roughly ½ cup into the roux in a steady stream while whisking until smooth. Add the remaining liquid in several pours, whisking after each addition and scraping the bottom and corners of the pan. It may look thick at first; keep whisking and the mixture should loosen into a uniform sauce.
- Simmer to the texture you want. Bring the gravy to a gentle bubble, whisking, then reduce the heat. Simmer for 4 to 7 minutes, stirring often, until it coats the back of a spoon. Draw a finger across that coating: the line should remain visible briefly. Gravy thickens further as it stands, so stop when it is a little looser than your preferred serving consistency.
- Season and finish. Take the pan off the heat. Stir in pepper, optional herbs or Worcestershire, then taste before adding salt. If bits of turkey or herbs make it uneven, pour it through a strainer into a warmed gravy boat. Serve promptly or keep hot safely while the rest of dinner is plated.
Make-ahead plan, storage, and reheating
For a make-ahead batch, prepare the roux and whisk in 3 cups low-sodium broth, leaving out the turkey drippings. Simmer until lightly thickened, cool it quickly in a shallow container, cover, and refrigerate. On Thanksgiving, warm the base over low heat while whisking. Add up to 1 cup defatted drippings gradually, tasting as you go. If drippings are unavailable or there is not enough, use broth to make the total liquid about 3 cups. You can prepare this base a day or two ahead for best quality; the USDA storage chart lists gravy and meat broth for 3 to 4 days refrigerated. 4
Refrigerate perishable gravy within 2 hours, or within 1 hour if the room or outdoor temperature is above 90°F. Keep the refrigerator at 40°F or below. For storage, use a shallow covered container so the gravy cools promptly. Reheat leftovers to 165°F, checking with a food thermometer, and stir so the heat is even. A stovetop saucepan over low to medium-low heat is easiest to control. Add broth or water a tablespoon at a time if cold gravy has set up; whisk until smooth. Do not leave the gravy sitting out through a long meal. 4 5
Variations and easy adjustments
For a deeper roasted flavor, deglaze the roasting pan and include those strained brown bits. For an herb note, stir in thyme, sage, or a little rosemary at the end. For a richer sauce, replace up to ½ cup of the broth with additional drippings, but taste before salting. For a gluten-free version, this exact flour roux is not suitable; use a gluten-free all-purpose flour blend labeled for thickening, or thicken the hot liquid with a slurry made from 1 tablespoon cornstarch and 1 tablespoon cold water, added gradually. The texture will differ, so simmer and adjust in small increments.
Troubleshooting common gravy problems
Lumpy gravy: Keep whisking over low heat. If lumps remain, strain the gravy or briefly blend it with an immersion blender, taking care with hot liquid. Next time, add warm liquid gradually rather than pouring it all in at once.
Too thick: Whisk in warm broth or water, a tablespoon or two at a time. Too thin: Simmer gently for a few minutes to reduce it. If you need a quick correction, mix 1 teaspoon cornstarch with 1 tablespoon cold water, whisk a little slurry into the simmering gravy, and give it a minute to thicken before adding more.
Too salty: Add unsalted broth or water to dilute, then thicken again only if needed. Do not try to fix it by adding more salty drippings. Pale or mild: Stir in strained pan fond, a spoonful at a time, and taste. The browned residue should smell savory, not scorched.
Frequently asked questions
Can I make turkey gravy without drippings?
Yes. Use low-sodium chicken or turkey broth for the full 3 cups of liquid. It will be a little less roasty, but the butter-flour roux still makes a savory, useful gravy. If you later collect drippings, whisk some into the warmed gravy and adjust the seasoning.
Do I need a fat separator?
No. Pour the drippings into a heat-safe cup and allow the fat to rise, then spoon it off. The fat separator is convenient, especially when the turkey produces a lot of juices, but it is not essential.
Why did my gravy turn thinner after I added drippings?
Drippings add liquid, and their amount varies from turkey to turkey. Let the gravy simmer for a few extra minutes, stirring often, until it coats a spoon. If the drippings are particularly watery, use less broth to start and add broth only as needed.
Can I freeze the gravy?
Yes. Freeze cooled gravy in airtight freezer containers with a little room at the top. Thaw it in the refrigerator and reheat to 165°F, whisking as it warms. Texture can separate slightly after freezing; steady whisking usually brings it back together. USDA guidance lists gravy and meat broth at 2 to 3 months in the freezer for quality. 4
What to serve with it
Spoon this gravy over roast turkey, mashed potatoes, or a slice of savory holiday stuffing. It also works with roasted vegetables or warm dinner rolls for catching the last bit on the plate. For a complete holiday table, pair it with the site’s existing cornbread or mac and cheese without needing to turn the gravy into another casserole-style dish.
Internal link suggestions: Add links after a site audit confirms the canonical URLs: One-Bowl Thanksgiving Cornbread; Thanksgiving Mac and Cheese; Green Bean Casserole. The site also has draft cranberry sauce and stuffing recipes; link those only when published and canonical URLs are known.
What makes this recipe distinct
This page focuses on the fast, practical route: a classic butter-and-flour roux, measured turkey drippings, broth to fill the gap, and a make-ahead base completed on the holiday. It is a sauce accompaniment, not another baked side, casserole, or bread recipe. Its specific promise is useful for cooks managing a full Thanksgiving menu: get the thickening base ready early and reserve the turkey’s browned juices for the final flavor step.
A smooth finish for the holiday table
A good gravy does not need a complicated ingredient list. Cook the roux until it smells lightly toasted, whisk in warm liquid in stages, and season only after tasting the drippings. With the base prepared ahead and the safety steps handled, you can bring warm, savory gravy to the table without leaving the turkey and sides unattended for long.
Recipe Card: Easy Turkey Gravy from Drippings
Yield: About 3 cups (approximately 8 servings of ⅓ cup each) Prep time: 5 minutes Cook time: 15 minutes Total time: 20 minutes
Ingredients
- 4 tablespoons unsalted butter
- 4 tablespoons all-purpose flour
- 2 cups low-sodium chicken or turkey broth, warmed
- 1 cup defatted turkey drippings, or enough broth to bring combined liquid to 3 cups
- ¼ teaspoon freshly ground black pepper
- Up to ½ teaspoon kosher salt, to taste
- 1 teaspoon finely chopped fresh thyme or sage (optional)
- 1 teaspoon Worcestershire sauce (optional)
Instructions
- Pour turkey drippings into a fat separator or heat-safe cup. Separate and discard most of the fat, retaining the dark juices. Strain pan liquid if needed. Measure 1 cup drippings and use broth to make a total of 3 cups liquid.
- Melt butter in a medium saucepan over medium heat. Whisk in flour and cook, whisking, for 2 to 3 minutes, until smooth and pale golden.
- Warm the measured broth and drippings. Gradually whisk the liquid into the roux, adding about ½ cup at a time and whisking smooth between additions.
- Bring to a gentle bubble, then simmer 4 to 7 minutes, stirring often, until the gravy coats the back of a spoon.
- Remove from heat. Stir in pepper and optional herbs and Worcestershire. Taste and add salt as needed. Strain if desired and serve hot.
- For the make-ahead option, prepare the gravy using 3 cups broth instead of drippings. Refrigerate promptly in a shallow covered container. Reheat on serving day, whisking, and add up to 1 cup defatted drippings; adjust thickness with broth or water. Reheat leftovers to 165°F.
Calories: Omitted; actual drippings, broth brands, fat separation, and serving yield vary too much for a reliable estimate here.
USDA FSIS advises refrigerating perishable foods within two hours, keeping refrigerators at or below 40°F, reheating leftovers to 165°F, and lists gravy/meat broth at 3–4 days refrigerated and 2–3 months frozen. 4 5
Sources
- Google Trends: Thanksgiving 2025
- Turkey Gravy, Once Upon a Chef
- The Best Turkey Gravy Recipe, Serious Eats
- Turkey from Farm to Table, USDA FSIS
- Keep Food Safe! Food Safety Basics, USDA FSIS